More Guides
Ender 3 S1 Leveling Failed: Mastering the First Layer for Ender 3 S1, S1 Pro & S1 Plus
Struggling with first layer imperfections on your Ender 3 S1, S1 Pro, or S1 Plus 3D printer? You’re not alone. In this comprehensive guide, we’ll walk you through proven strategies and step-by-step instructions to help you achieve flawless first layers, ensuring that you’re fully equipped to get the most out of your Ender 3 S1 series printer.
1. Add M420 S1 or G29 in start gcode
Make sure your START GCODE in Cura (under machine settings) includes the following lines:
G28 ; HOME ALL AXES
G29 ; CREATE NEW MESH
M500 ; SAVE NEW MESH
M420 S1 Z3 ; RETRIEVE & USE LAST SAVED MESH
To skip generating a new mesh for each print (takes extra 2-3 minutes to probe), comment out the following lines:
; G29
; M500
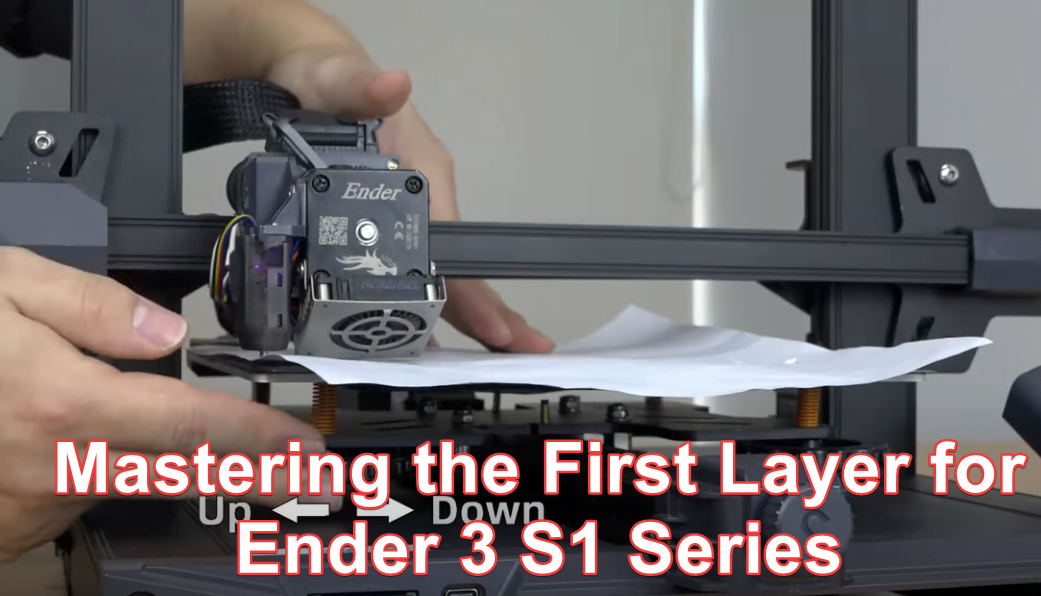
2. Follow the Below leveling Steps (with youtube video)

Ender 3 S1 (Original Firmware):
- Before Print (After few prints or when necessary)
- Prepare > Auto Home
- Click “Move” – “Move Z” and set Z to 0
- Return to previous menu and click “Z-offset” to adjust the Z-axis position
- Adjust until friction can be felt when moving the A4 paper
- Disable Stepper Motor
- Do the A4 paper friction test for All 4 corners
- Return to the main screen and click on “Level” to do Auto Leveling
- During Print
- Observe the first layer if adhere evenly to the hot bed during leveling
- If too near or too far, Click “Settings” – “Z-offset”, adjust the “Z-offset” to the appropriate position.
Ender 3 S1 Pro / S1 Plus:
- Before Print (After few prints or when necessary)
- Click “Settings” > “ADV.SET” > “Restore All Set.” > “Yes”
- Click “Settings” > “Leveling”, It will auto home and return to origin
- Place a sheet of A4 paper on the platform
- Click on “①”, and adjust the offset value down until the paper has slight friction feeling
- Click ②~⑤ in turn, rotate the corresponding leveling nut until it feel a slight sense of friction. Get all of them to have the same feeling for the best result.
- Counterclockwise the nut to move the platform away from the nozzle. Clockwise move closer to the nozzle.
- After finished, click “AUTO. LVL.” > “Start” to do Auto leveling
- Return to main menu and start printing
- During Print
- Observe the first layer if adhere evenly to the hot bed during leveling
- If too near or too far, Click setting bar above > “Z-axis Comp.”
- Adjust it up or down using the Z up and Z down button until the filament is evenly and flatly discharged.
3. Flash Mriscoc Professional Firmware (S1 Only, Not applicable for S1 Pro/Plus)
This powerful firmware offers additional features and a mesh viewer. Download the firmware for your board version from the links below and follow the installation instructions.
Firmware download: https://github.com/mriscoc/Ender3V2S1/releases
Installation guide: https://github.com/mriscoc/Ender3V2S1/wiki/How-to-install-the-firmware
Manual installation for Ender3 V2 and S1 with STM32F1 SoC
- Insert a blank and MBR, FAT32 and 4096 allocation unit formatted µSD in your PC/Mac
- Copy the .bin file to the root of the card
- Ensure that the name of the file was not previously used to update the printer. If necessary, rename the file.
- Turn off the printer, disconnect any USB cable and insert the µSD card.
- Turn on the printer, the upgrade firmware process will start automatically.
- The display will be blank until the upgrade is finished (about 15 seconds).
- If you are upgrading from the original firmware or other fork, please restore defaults.
- Make the MPC/PID adjust and put the other calibration parameters
Manual installation for Ender3 S1 with the STM32F4 SoC
If the printer ignores the .bin file at the root of the SD card then try the same as for the F1 version but:
- …
- Copy the .bin file to a folder named STM32F4_UPDATE at the root of the card
- …
Note: Some F4s have problems with the CRTouch, currently the only solution is using the CRTouch to create a mesh as reference and edit it manually.
Mriscoc Professional Firmware
- Before Print
- Preheat bed
- Run the TRAM Wizard
- Run a 5×5 mesh and SAVE
- Prehead bed & nozzle
- Run Z-Offset Wizard and SAVE
- During Print
- Observe the first layer if adhere evenly to the hot bed during leveling
- If too near or too far, Click “Settings” – “Z-offset”, adjust the “Z-offset” to the appropriate position.
Bed leveling calibration files (1): https://www.thingiverse.com/thing:34558
For questions or issues, share your display results, each step, and print results.

