Firmware & Guides
Mastering the First Layer: 5 Tips for Perfect 3D Prints

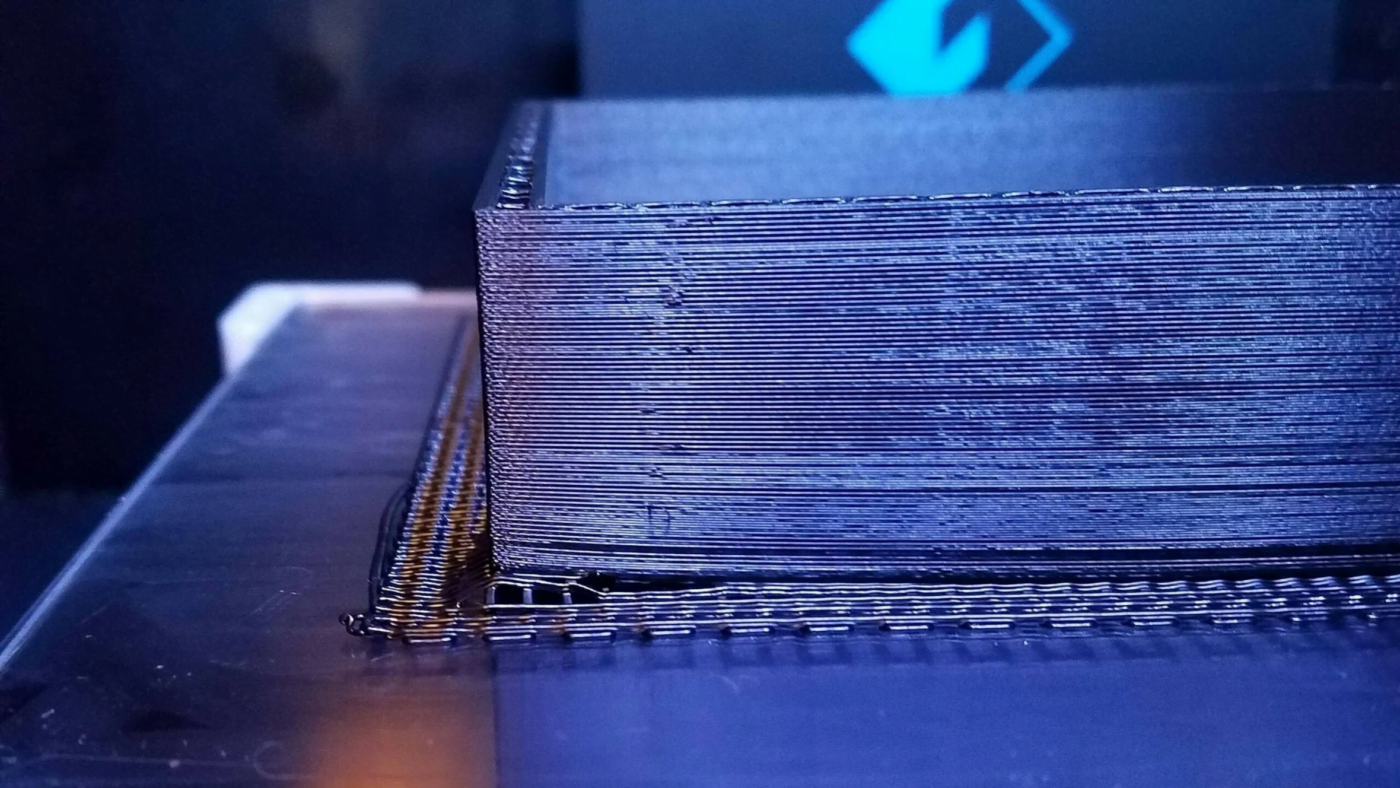
The first layer of a 3D print serves as the foundation for the entire creation, playing a crucial role in determining the success of the final product. Despite the challenges it presents, achieving the perfect first layer is essential to avoid messy outcomes. In this blog post, we’ll explore five simple yet effective techniques to help ensure your print sticks to the bed and yields a flawless first layer every time.
Level the Bed for Consistent Nozzle Distance

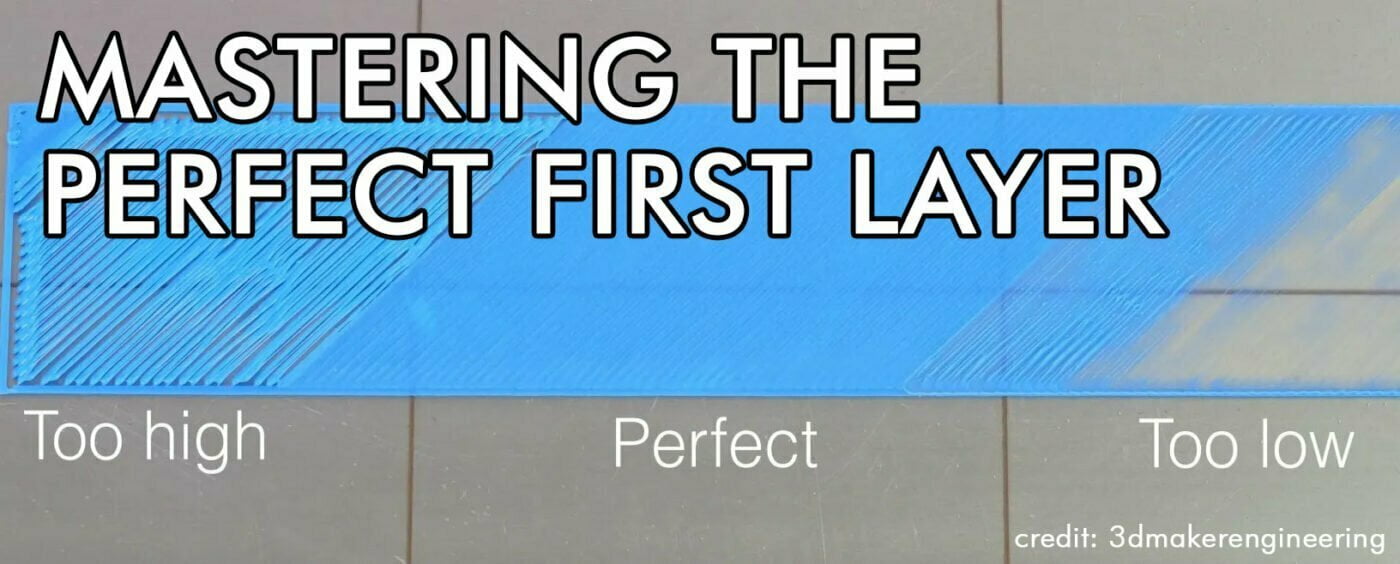
A major contributor to prints not sticking to the bed is an uneven print surface, which results in inconsistent nozzle distance across the bed. To tackle this issue, follow your printer’s specific bed leveling method, as outlined in its owner’s manual. The importance of this step cannot be overstated, as it is crucial for your first layer’s success.
The following guide outlines the steps for proper bed leveling, with a particular emphasis on adjusting the Z offset during printing, which is crucial for achieving a perfect first laye
Reduce First Layer Speed for Better Adhesion

When the toolhead moves too quickly, it becomes difficult for the extruded plastic to bond properly to the print bed. Slowing down the first layer speed by 30% – 50% can significantly improve adhesion without affecting the speed of subsequent layers. Typically, if you lack confidence in your first layer adhesion, it’s recommended to start with a slower speed of 10-20mm/s. Once you achieve satisfactory results, you can gradually increase the first layer speed to reduce overall print time.
Optimize Temperature Settings for Perfect First Layers

If your first layer initially sticks but later detaches from the bed, the temperature settings might be the culprit. Ensure that both the toolhead and the build platform are set to the appropriate temperatures. For printers with heated build platforms, increasing the bed temperature in increments of 5 degrees can help achieve the desired first layer results. Additionally, always follow the temperature guidelines provided by the filament manufacturer. Keep in mind if your bed temperature too high, the model will warp due to temperature differences. If too low it will be not sticking since it can’t adhere to the bed.
Maintain a Clean Build Surface for Enhanced Adhesion

Keeping the build surface clean and free from dust, grease, or oil can help improve first layer adhesion. Regularly wipe the surface with isopropyl alcohol (IPA) to remove contaminants. For different filaments, consider using one of the following bed treatments: glue stick, hairspray (e.g., Aqua Net), painter’s tape, or specialized surface materials such as BuildTak or a Polyetherimide (PEI) sheet.
Utilize Rafts, Skirts, or Brims for Added Support

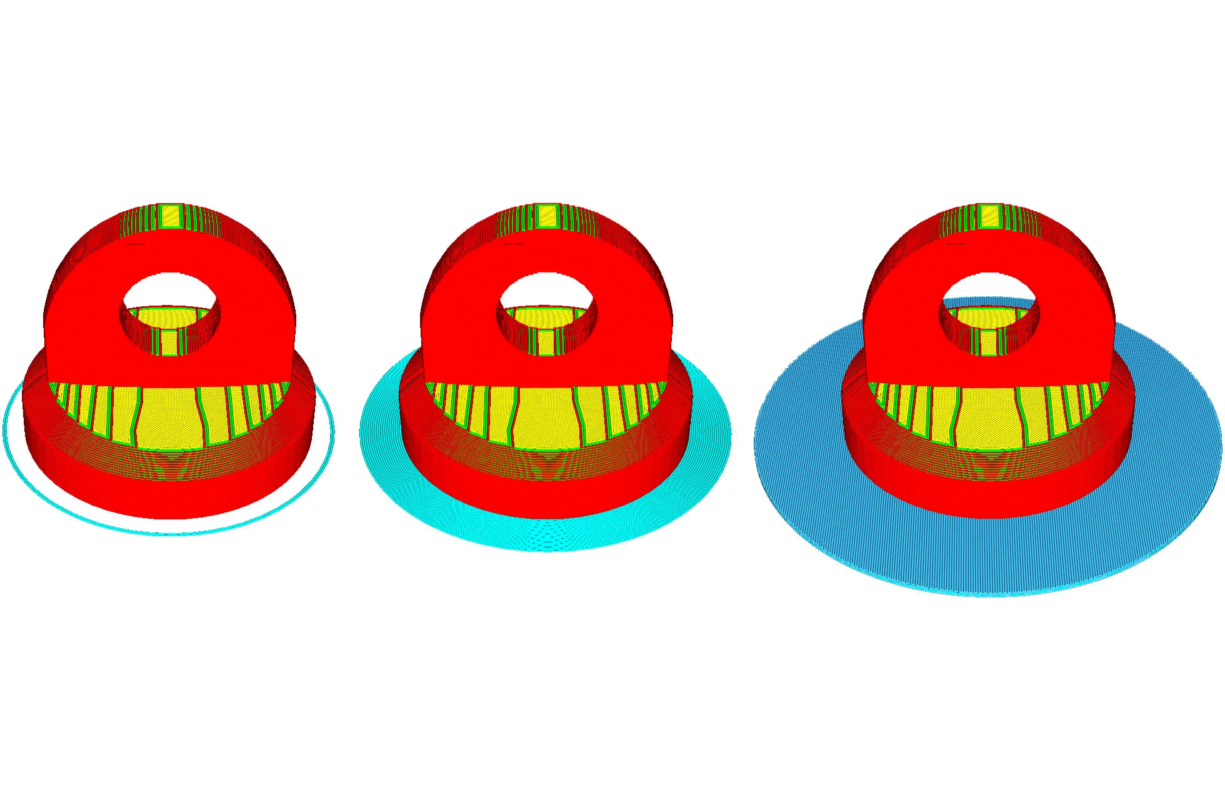
If you’ve followed the above tips but still face first layer issues, consider using slicers built-in options for creating sacrificial structures like rafts, skirts, or brims. These temporary add-ons can significantly improve first layer adhesion and can be easily removed once the print is complete. To access these options, navigate to the Additions tab in the Edit Process Settings dialog box.
Conclusion, Achieving the perfect first layer is vital for a successful 3D print, and while adhesion problems can be frustrating, they can often be resolved by employing the right techniques. By ensuring a level bed, optimal temperatures, slower speeds, and proper bed preparation, you can lay the groundwork for a flawless 3D print. For more insights on troubleshooting common 3D printing issues, don’t forget to check out our comprehensive Print Quality Guide.

