More Guides
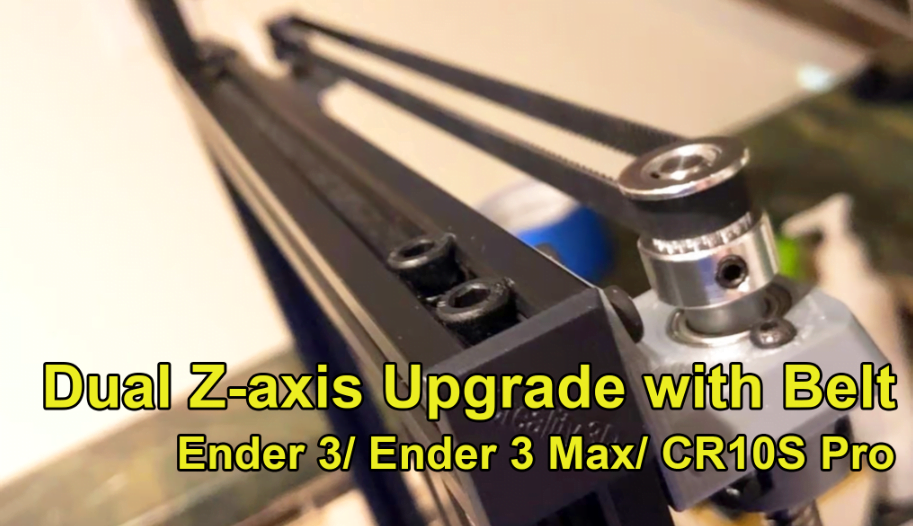
Dual Z-axis Upgrade with Belt for Ender 3 Series / Ender 3 Max / CR10S Pro Series
The Ender 3 is one of the best budget 3D printers, especially for hobbyists. And because of the low cost, many some of the important part wasn’t included inside the package. In this article, we’ll be take a look at a popular upgrade for budget 3D Printer that stability to the X-axis gantry by using another Z rod.
The Problem of Single Z Rod
On a stock Ender 3 / Ender 3 Max, the X-axis gantry can sometimes lean and tilt because of how much weight it puts on the one Z rod. This can compromise print quality, including causing
- Bed leveling issues, as the hot end can be at a different height along the X gantry if the gantry is tilted or wobbles
- Ringing issues, as the x gantry wobbles and can’t stabilize the hot end.
- Stability issue, as print goes higher, it may cause layer shift or even hitting the model as the x gantry can’t handle the weight of the hot end.
Solution: Dual Z Upgrade

In this article, we will be choosing the standard dual z upgrade kit that can be found through many websites.
Problem with Standard Dual Z Upgrade Kit
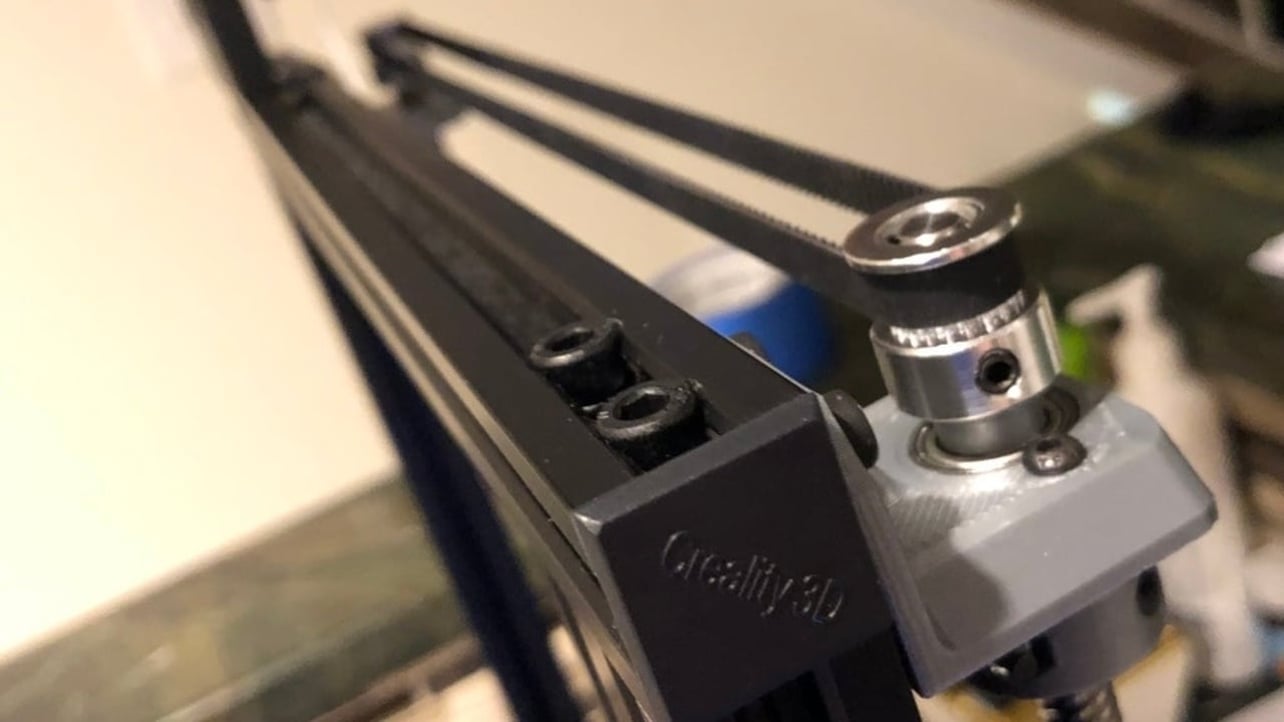
If you have installed dual Z Kit, the current kit usually doesn’t come with a belt at the top to keep x gantry align. And when dual z machine is powered off, the left side tend to go lower as the hot end is heavy enough to push the gantry downward. Left and right Z axes can drift out of sync for a variety of reasons from mechanical alignment to stepper motor full step position.
Thanks to the community, there are plenty of mods to keep both left and right z axis align, in here we will be covering the basic one for some Creality Printers.
Z Sync Belt Mod for Ender 3 / Ender 3 V2 (Without Tensioner)

For Ender 3 235mm bed series, usually we only need the following
Two 20T GT2 Pulleys (Width: 6 Bore: 8)
One 610mm GT2 Closed Loop Timing Belt 6mm width
As 610mm size is common, therefore usually Ender 3 doesn’t require a tensioner to keep the belt tight.
Here’s the installation guide for the the Z Sync without tensioner
Z Sync Belt Mod Kit for Ender 3 Max / CR10S Pro / CR10S Pro V2 (With Tensioner)

Link to Print: https://www.thingiverse.com/thing:4539244
2x 20T GT2 Pulleys (6mm )
1x 850mm GT2 Timing Belt
1x20T 6mm or 5mm Idler Pulley Smooth (both include in slt)
1x20T 6mm or 5mm Idler Pulley Tooth
2x M3 Screws
2x M3 2020 T-Nut

