More Guides
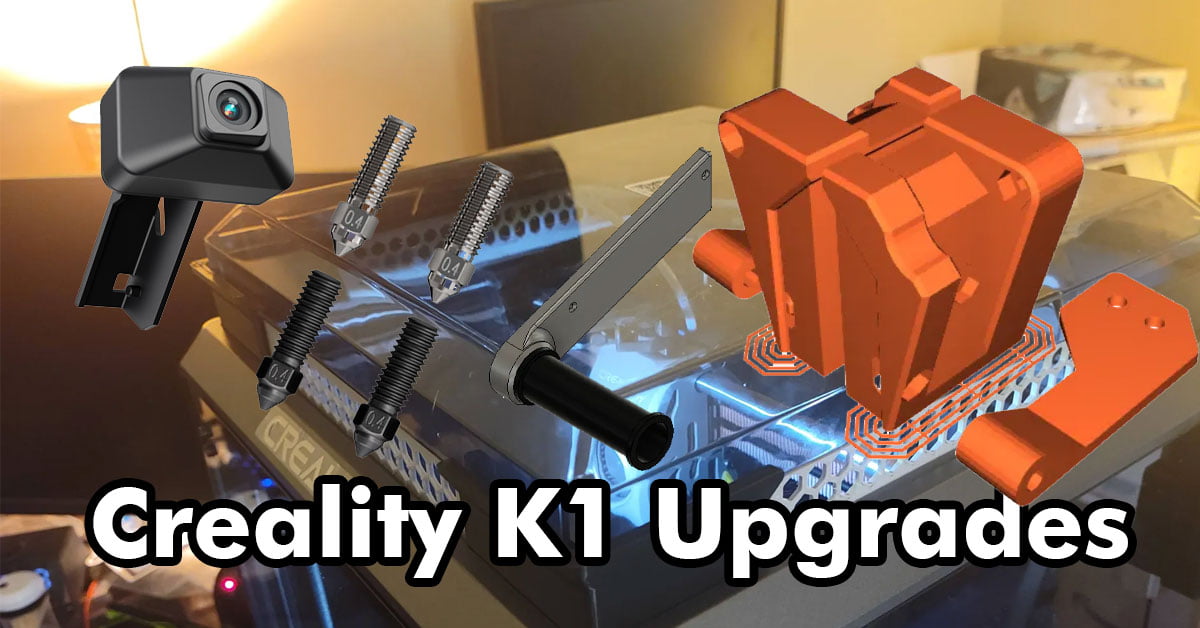
8 Creality K1 Upgrades for Maximizing Your 3D Printing Experience
As the Creality K1 3D printer gains popularity, there’s a growing demand for recommended alterations to elevate the 3D printing experience. And with that, a bunch of folks are curious about the best ways to tweak their machines for a better 3D printing ride. To help out, we’ve been collecting some super helpful feedback from our awesome users and the dedicated folks in our Facebook group. Putting all this wisdom together, we’ve put out a list filled to the brim with official accessories and 3D printable parts just for the K1. Think of this list as your personal cheat sheet for boosting your K1 experience to the next level.
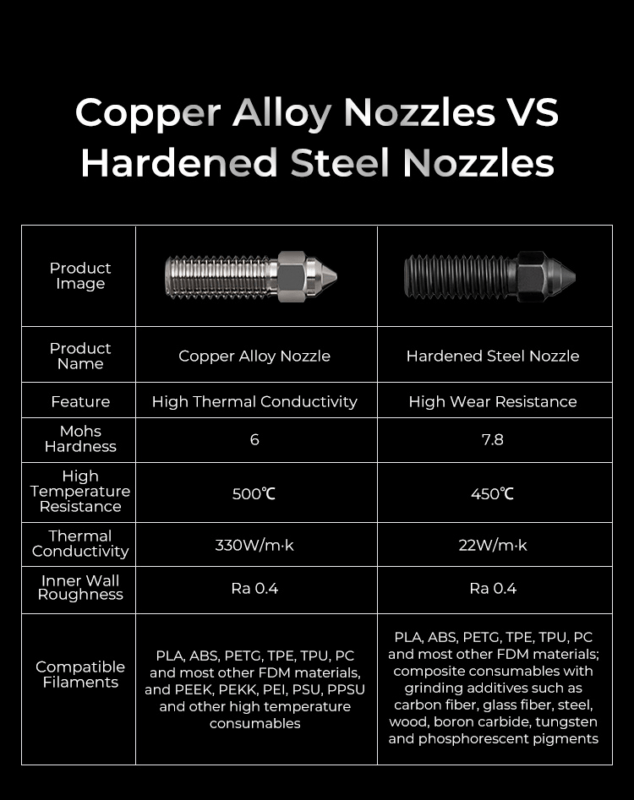
K1 copper alloy & hardened steel Nozzles
I’ve got to tell you, the upgraded nozzle kit for Creality’s K1 3D printer is a real game-changer. It comes with both copper alloy and hardened steel nozzles. What’s great about the copper alloy ones is that they heat up super evenly due to their thermal conductivity coefficient of 330W/m.k. Plus, they can support the K1’s 600mm/s print speed, and work well with a wide range of FDM and high-temperature materials. They’ve even got a nickel coating to cut down on adhesion and keep that filament extrusion silky smooth.
Now the hardened steel nozzles are super tough, fighting off corrosion and wear like champs. They’re long-lasting and can handle composite materials packed with various additives. And don’t worry about the heat – they’ve got that covered too. The copper alloy nozzles can handle up to 500 degrees Celsius and the steel ones can go up to 450 degrees Celsius. Talk about a hot deal!
270 Degree Door Hinge
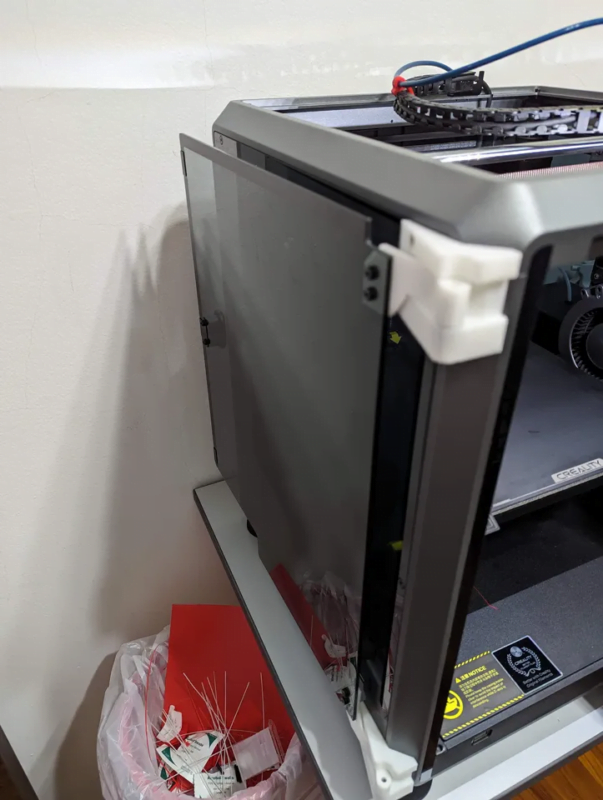
One feature I’ve come to appreciate about this door hinge upgrade is its practicality when you’re only printing with PLA and don’t need the inside to be super warm. Plus, if you’re into keeping an eye on your prints or capturing those cool time-lapse videos, the front door can be a bit of a sight-blocker. But here’s the good news – we’ve got two different versions of the hinges, crafted by unique designers. If you need a door latch, don’t sweat it, just grab the one that’s got you covered.
Additional Purchase: (M3 heat Inserts, M3 Screws, check the respective links below)
STL Link:
- Printables (Comes with a Door Latch)
- Printables
K1 Lid Riser
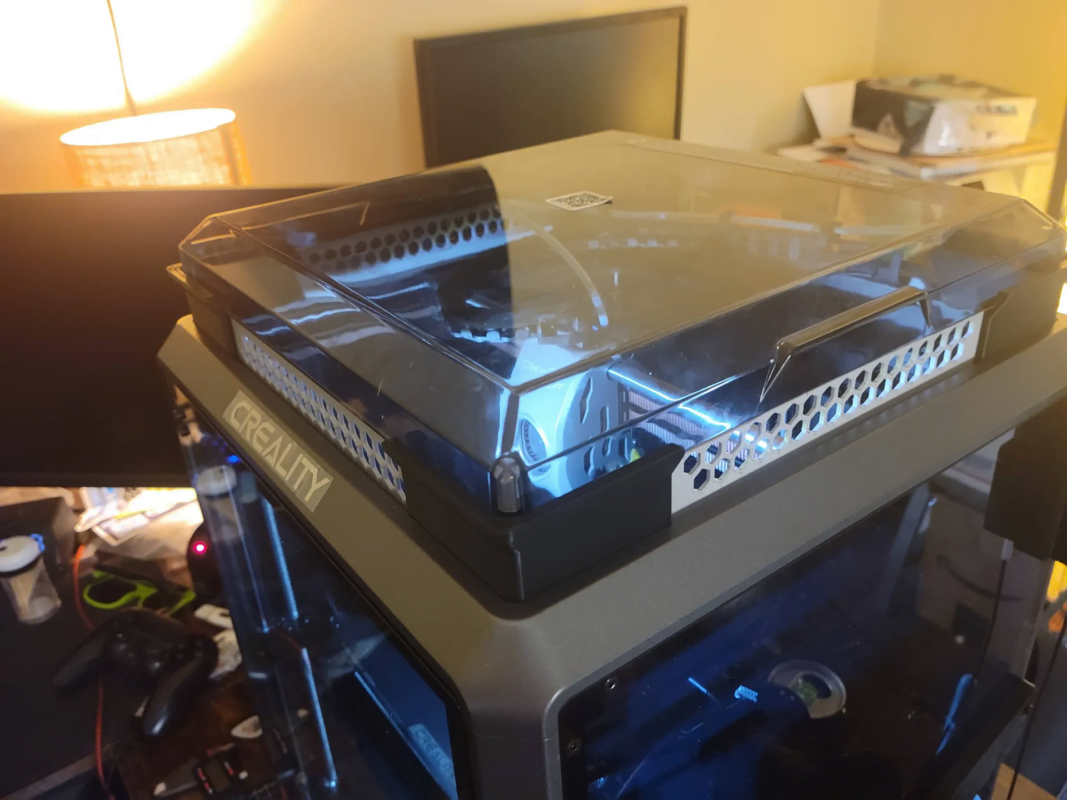
The original design placed the Bowden tube inside the chain cable. However, this limited its mobility, causing the filament to excessively bend. This led to friction and potential under-extrusion during printing – a real nuisance.
To combat this, many have opted to liberate the Bowden tube from the drag chain, allowing it to move more freely. But there’s a catch – it started to scrape the cover. Enter the K1 Riser, a lifesaver that prevents the reverse Bowden tube from grazing on the cover.
I’m particularly impressed by the modularity of this printable part. And the icing on the cake? It doesn’t require any support to print.
Additional Purchase: Extra Screws or Magnets underside of each brackets (check links for details)
STL Link: Printables
K1 Cable Chain Bowden Clip
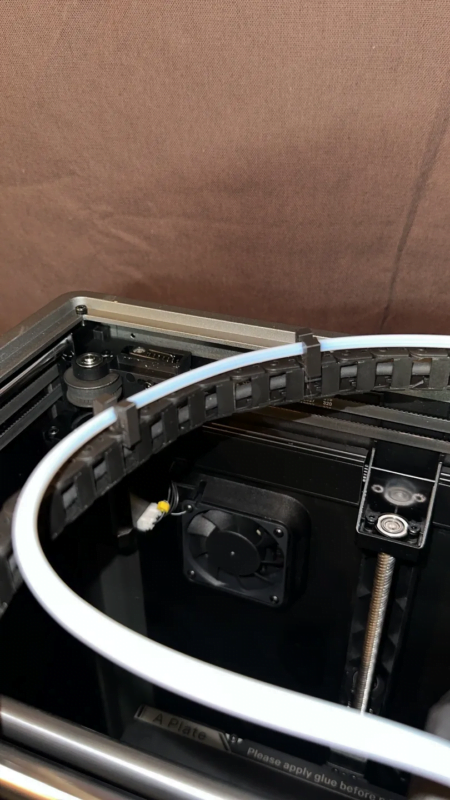
Enter the K1 Cable Chain Bowden Clip. If you’ve already removed the PTFE tube from the drag chain, you’ll find this handy little device a no-brainer. It ensures your Bowden stays put, not flapping around mid-print. And if you’re not keen on printing a Riser, this might just be the alternative solution. It helps your tube stay in place without scuffing the light cover.
STL Link: Printables
K1 Side Spool Holder
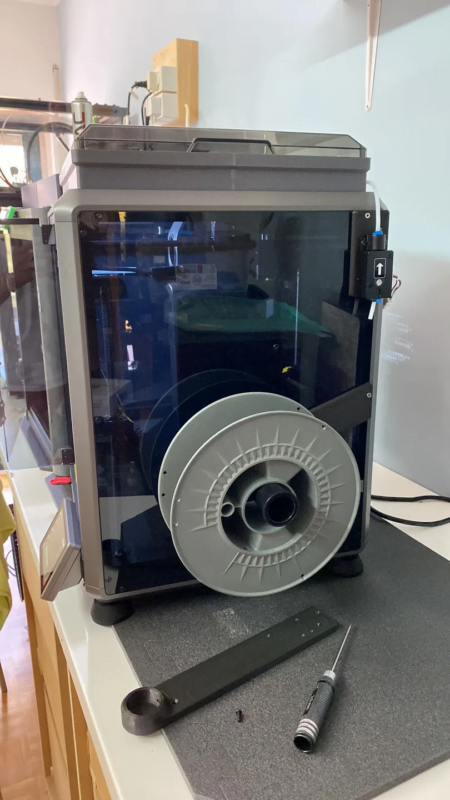
The K1 Side Spool Holder is a fantastic addition to your 3D printer setup. Picture this: sometimes, it’s tricky to see how much filament you have left because the spool is tucked away at the back. Or perhaps your space is a bit cramped at the back but roomy on the side. That’s where this printable STL comes to the rescue! Not only does it make better use of your space, but it also makes it simpler to add and remove spools.
Additional Purchase: Extra 14 or 16mm M3 Screws to relocate the filament sensor to the side.
STL Link: Printables
Discs for K1 Rubber Feet
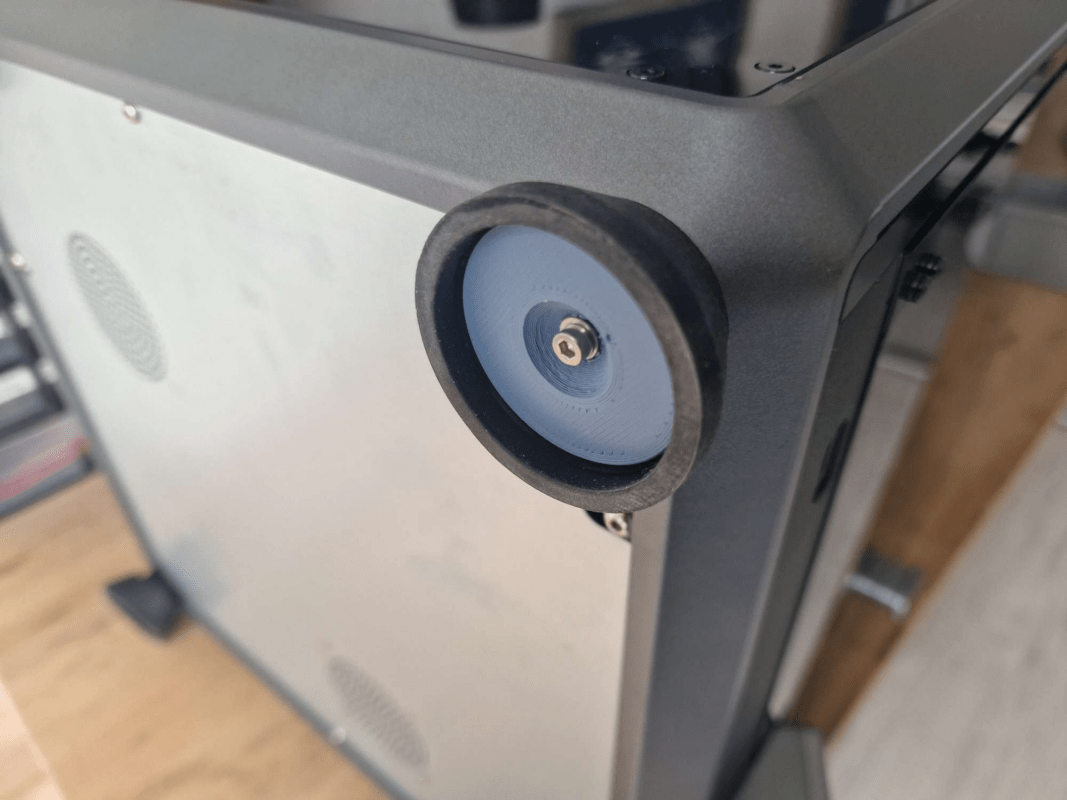
Sometimes when you shift your printer and those clever little rubber buffers just pop off? It’s happened to all of us, hasn’t it? To prevent this inconvenience, Ben designed precision fitting discs that you can easily insert and secure at the original screw points. The only extra thing you’ll need are four longer screws. Specifically, you’re looking for M3 cylinder head screws with a length of 20mm. Simple, effective, and no more rogue buffers!
Addtional Purchases: M3 cylinder head screws with a length of 20mm
STL Link: Creality Cloud
K1 Exhaust Fan Filter Holder
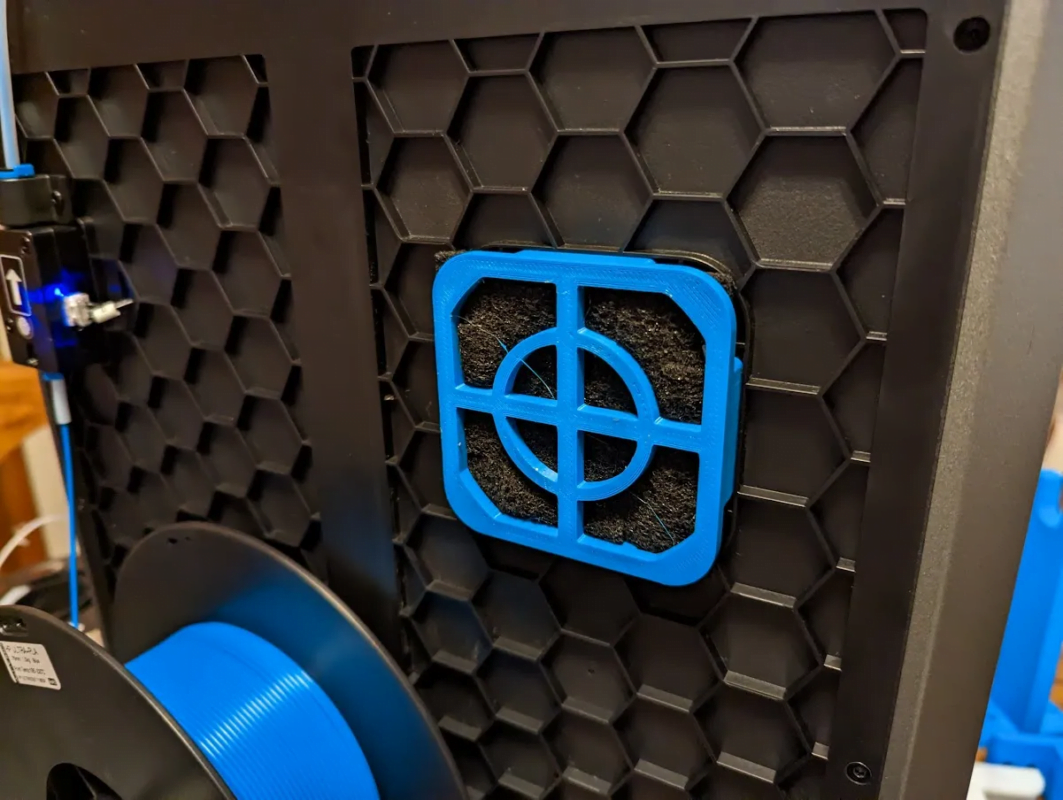
Here’s a straightforward fix for anyone wanting to use Activated Carbon Filter material with their Creality K1 Printer: Exhaust Fan Filter Holder. This clever accessory lets you easily add filter material for efficient air purification while printing.
To get started, all you need to do is cut the Activated Carbon Filter Material to the right size. Then, you just press-fit it onto the enclosure exhaust fan of your printer. This secure way of attaching the filter ensures a tight and effective seal, keeping any particles or fumes that you don’t want from escaping into your workspace.
STL Link: Printables
K1 AI Camera (in Beta)

Adding an AI camera is another nifty option. With it, you can create timelapse videos of your prints. Even better, the AI camera takes its monitoring duties up a notch. It doesn’t just watch passively – it takes action! If it detects that your print is starting to resemble spaghetti more than your intended design, it will halt the print job.
So, this isn’t just a case of saving you from discovering a filament tangle after the fact. The AI camera actively prevents the mess from getting worse, stopping the print before it uses up any more of your precious filament.
Remember, this feature is still in beta – it’s cutting-edge technology that’s continuously being refined. And don’t forget, for the smoothest operation and to avoid camera-related issues, keep your firmware up-to-date. It’s the best way to ensure you get the most out of this clever piece of kit.
As it stands, the K1 Printer is relatively new, and there’s a good chance we’ll see more upgrades coming down the line. To stay up-to-date on the latest enhancements that could take your 3D printing experience to new heights, keep an eye on the link below. There might be just the upgrade you’ve been waiting for!
https://www.printables.com/search/models?o=popular&q=creality%20k1
https://www.thingiverse.com/search?q=creality+k1&page=1&type=things&sort=relevant

No, it has been tested and conforms to medical device standards including IEC EN 62471 Photobiological eye safety standard cheapest place to buy cialis
https://virtual-local-numbers.com/countries/53-greatbritain.html
What is cost delivered to Western Australia the 8 upgrades for the K1 printer