Firmware & Guides
7 Tips to Improve Your Resin SLA 3D Print Quality & Reduce Fail Prints
Photocuring (SLA/DLP/LCD) 3D printing is very easy to get started & able to create very fine details & complex geometric shapes. Although this technology has many advantages, your print may still fail or rough if you are not very familiar with slicing, printing skills, etc. Below explains how to improve the quality of 3D Resin printing by just doing a few adjustments
Tip 1: Exposure Time (s)

The very first reason that could cause your print fail or success is the curing or exposure time. Exposure Time is the amount of time that the light source will expose each layer during printing. Different Resin printers or resin type has different cure times.
The default is 3 seconds for Exposure Time in ChiTuBox. For most resins, this exposure time for Mono LCD is enough, but it can be tuned based on the actual situations. if you are using RGB LCD (such as LD-002R, or Photon), exposure time can be 3 times longer such as 9 seconds. The longer the exposure time, the less detail it will get & more warped, at the same time if the exposure time is too short, it will get less details or even failed to form shape.
As for bottom exposure time, it’s recommended to make it around 8~12 times longer than your normal exposure time. Default bottom exposure time is 50 seconds in ChiTuBox. Increase the exposure time if the raft won’t stick to the build plate. Generally, the longer the bottom exposure time, the more tightly the raft will stick to the build plate. Don’t set too long, it will make the model stick too much to the build plate, then you will have hard time to remove it, and may accidentally cut your hand during removing, which I did it once 🙁
References article: https://www.instructables.com/Troubleshooting-Prints-Arent-Sticking-to-the-Build/
Tip 2: Clean & Level your bed

Just like FDM printer, Sometimes you find your model doesn’t stick to the build plate, all you keep trying until it works. Leveling maybe necessary during the initial printer setup, or after moving the printer to another location. Another solution is to increase the bottom exposure time by 10~20s. If it’s still doesn’t work, it’s time to clean or level your bed. If you finds your printer need to be leveled frequently when not moving, might need check the screw & nut tightness at the side, or even check if your build plate super uneven surface.
Tip 3: Part Orientation

By orientating your model in different directions, you will be getting different quality, same as FDM printer. Warping happens on Resin printer too, so if your surface on bottom layer is huge, it will affect the model and will start warping. You could actually be loosing details if you are printing at the wrong angle. The image below showing the best angle for each layer height to maximize details and minimize layer lines/stepping.

Tip 4: Optimize supports

Supports are necessary for many designs, in Resin printing, if support is not configured correctly, it may fail to hold the print and causes the print drop to the base. Light support can save some resin but at the same time it may too small to hold your prints. For heavy support it may hold better, but it may leave certain holes or artifact after removing it, choose it wisely. Here’s an amazing youtube guide by VegOilGuy to explain where to put small or bigger support.
Tip 5: How to remove support after print finish

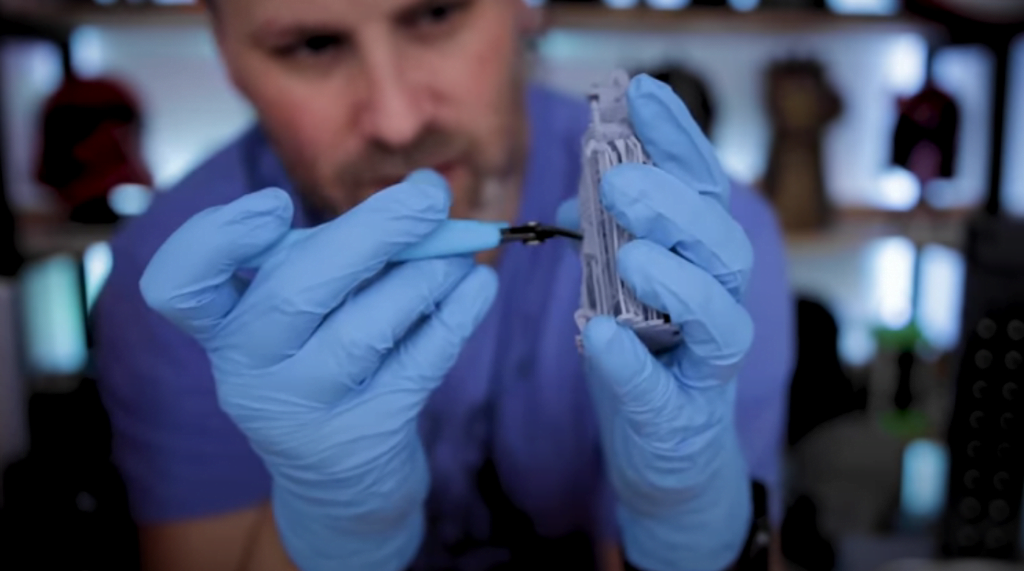
To safely remove support, a pliers are the best tool for this job. There are many ways to remove support, if your model is bigger, do remove support before curing. since the support structures are softer and easier to snip it off. If your model is lightweight, you may remove it anytime depends on your preference. Uncle Jessy has a great guide on how to remove the support https://www.youtube.com/watch?v=qV8Hq_6lOlQ
Tip 6: Store unused resin a cool dry place & dump contaminated IPA or water properly

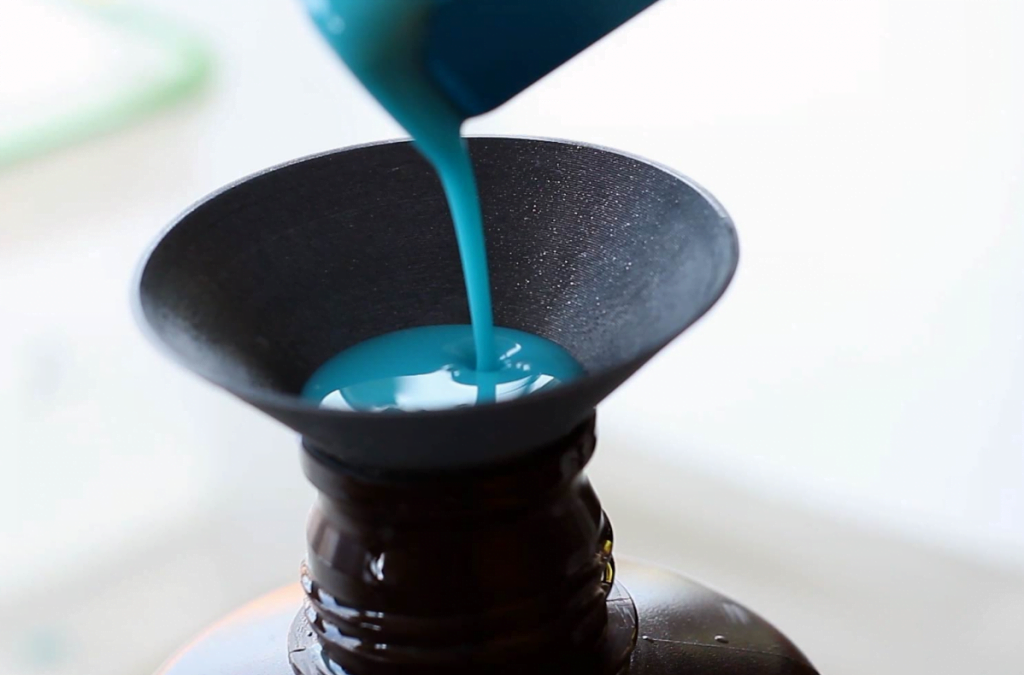
When your resin is stored properly, it may more than a year until you opened it. Best to store resin bottle within 20~25C. If you have unfinished Resin in the vat, pour it back to the bottle using resin filter & funnel. Or if you are lazy like me, you may leave it inside the vat for 1~2 weeks, and shake it up with plastic spatula before continue the next print,
As for resin contaminated IPA or water, do not pour them down the sink as it will affect aquatic life. To properly dispose them, put them outdoor & let it vaporize under the sun. If you have an empty container of resin, fill it with some IPA to clean the walls of the container, pour it into a clean plastic bag and expose it to the UV light until IPA has evaporated and the resin has hardened, and throw it away.
Tip 7: Replace FEP Film when it’s severe dents or holes

After a few usages, FEP film may get cloudy or have scratches. Don’t worry, keep printing as it’s still popping out prints. As long as the UV light able to pass through & cure your print, many reported you are still able to use it unless it start to get dents and hole. And FEP Film is the most fragile part of the printer & do not use metal scraper to scrape the resin off the FEP film. Use anything that’s plastic & scrape it out gently.
Bonus: Great Articles
There are also many great tips by others that may improve your 3D printing skills.

