More Guides
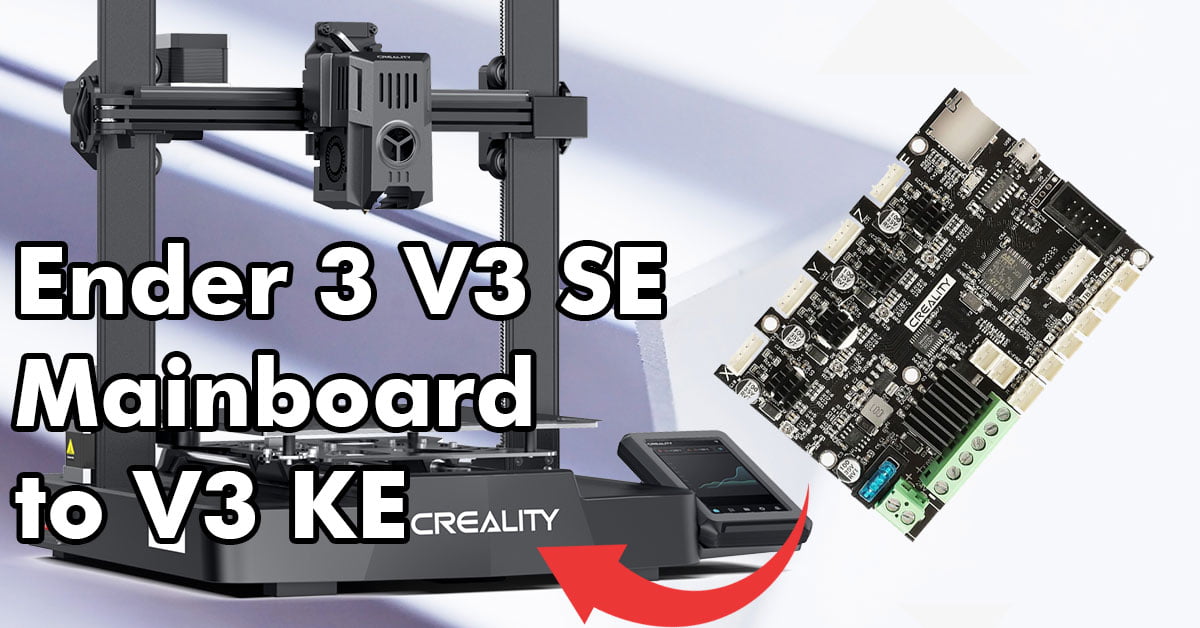
Replacing Ender 3 V3 KE Motherboard with Ender 3 V3 SE Motherboard (Model: CR4NS200320C13)
Apr
If your Ender 3 V3 KE motherboard is damaged and you can’t find a replacement, don’t worry! You can still use an Ender 3 V3 SE motherboard (Model: CR4NS200320C13) as a substitute. The only difference between the two motherboards is that the SE version has an extra SD card slot, while the KE version doesn’t. However, you’ll need to flash the appropriate firmware to ensure compatibility. Follow the steps below to successfully replace your motherboard.
")
Step 1: Download the Firmware Visit the Creality website at https://www.creality.com/pages/download-creality-nebula-smart-kit and download the “3D Print Firmware” zip file.
")
Step 2: Extract the Firmware Open the downloaded zip file and navigate to the “3D Printer Firmware” folder. Inside this folder, you’ll find two files. Select the “Ender3v3SE_firmware.bin” file.
")
Step 3: Format the SD Card Insert an SD card into your computer and format it using the FAT32 file system with a 4K allocation unit size. This step is crucial for the firmware to be read correctly by the printer.
Step 4: Copy the Firmware Copy the “Ender3v3SE_firmware.bin” file to the formatted SD card. Make sure the file is located in the root directory of the SD card.
Step 5: Insert the SD Card and Restart the Printer Insert the SD card containing the firmware into your Ender 3 V3 printer. Then, restart the printer by turning it off and back on again.
Step 6: Wait for Language Selection After about 20 seconds, the printer’s screen should light up and prompt you to select a language. If this happens, congratulations! The firmware has been successfully flashed, and your Ender 3 V3 SE motherboard is now compatible with your printer.
Troubleshooting: If the language selection prompt doesn’t appear and you encounter an error instead, the firmware may have been flashed incorrectly. To resolve this issue, rename the firmware file on the SD card to “firmware2.bin” or another unique name, and then repeat the process from Step 5. This will force the printer to read the firmware file again.
By following these steps, you can successfully replace your damaged Ender 3 V3 KE motherboard with an Ender 3 V3 SE motherboard and get your printer up and running again.