Buying Guides, Getting Started
Ender 3 S1 : Buyer’s Guide
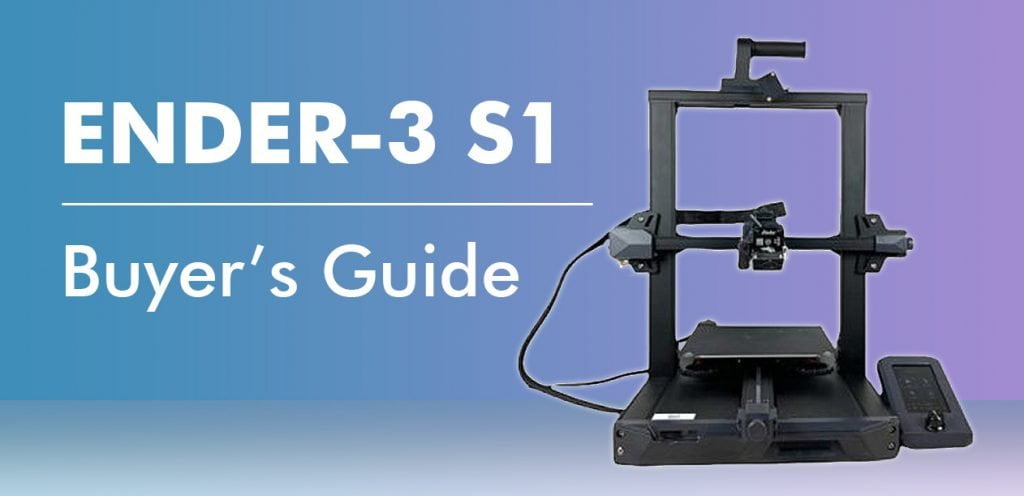
This guide is all about Getting Started with Ender 3 S1, the newest family for Ender series in 2022. Packed with new “Sprite” direct dual-gear extrusion system, removable flexible PC spring steel print bed, an auto leveling CR Touch and some other improvements.
Installation & Assembly
This has to be one of the easiest printer to assemble, semi DIY & takes less than 20 mins for a true beginner. Bryn Vines does a great job at explaining the instructions from assemble, level 4 corners, setup z offset and print.
Upgrade Firmware (Recommended)
Ender 3 S1 comes with the marlin firmware & if you are not using the latest firmware, do update it for better performance and stability.
https://www.creality.com/download (Latest as for today is Ender-3s1-hw24s1_301-sw-V1.0.5_C-CRTouch.zip 31 Dec, 2021)
Custom Firmware by Mriscoc (Optional)
Thanks to Mriscoc, there are better firmware out there to improve the usage and customization of Ender 3 S1
https://github.com/mriscoc/Ender3S1
If you felt like the official firmware is better, you can return to the vendor firmware anytime, the process is fully reversible.
Printer Profile & Print Setting
As this printer is still new, Cura may not have Ender 3 S1 profile yet. What you can do is
- Choose Ender 3/ Ender 3 Pro Profile
- Change your retraction length to 0.8 and retraction speed to 40, You can raise these settings a little bit if you’re seeing a lot of stringing, but remember that too much retraction can cause nozzle jams.
For direct drive, retraction is a must to reduce.
PrusaSlicer 2.4 has S1 profile built in therefore you don’t have to change anything.
If you need start and end of gcode, do refer the link below.
https://github.com/smith3d/3DPrinterFirmwareList/tree/main/Ender3S1

